

Find what you’re looking for:
-
![Female artist working on a computer in a studio filled with paintings and art supplies, including paintbrushes in holders and sketches on the wall.]()
Wedding Invitation Resources
-
![Bride in white dress and veil embraces groom in brown suit, stone hallway background.]()
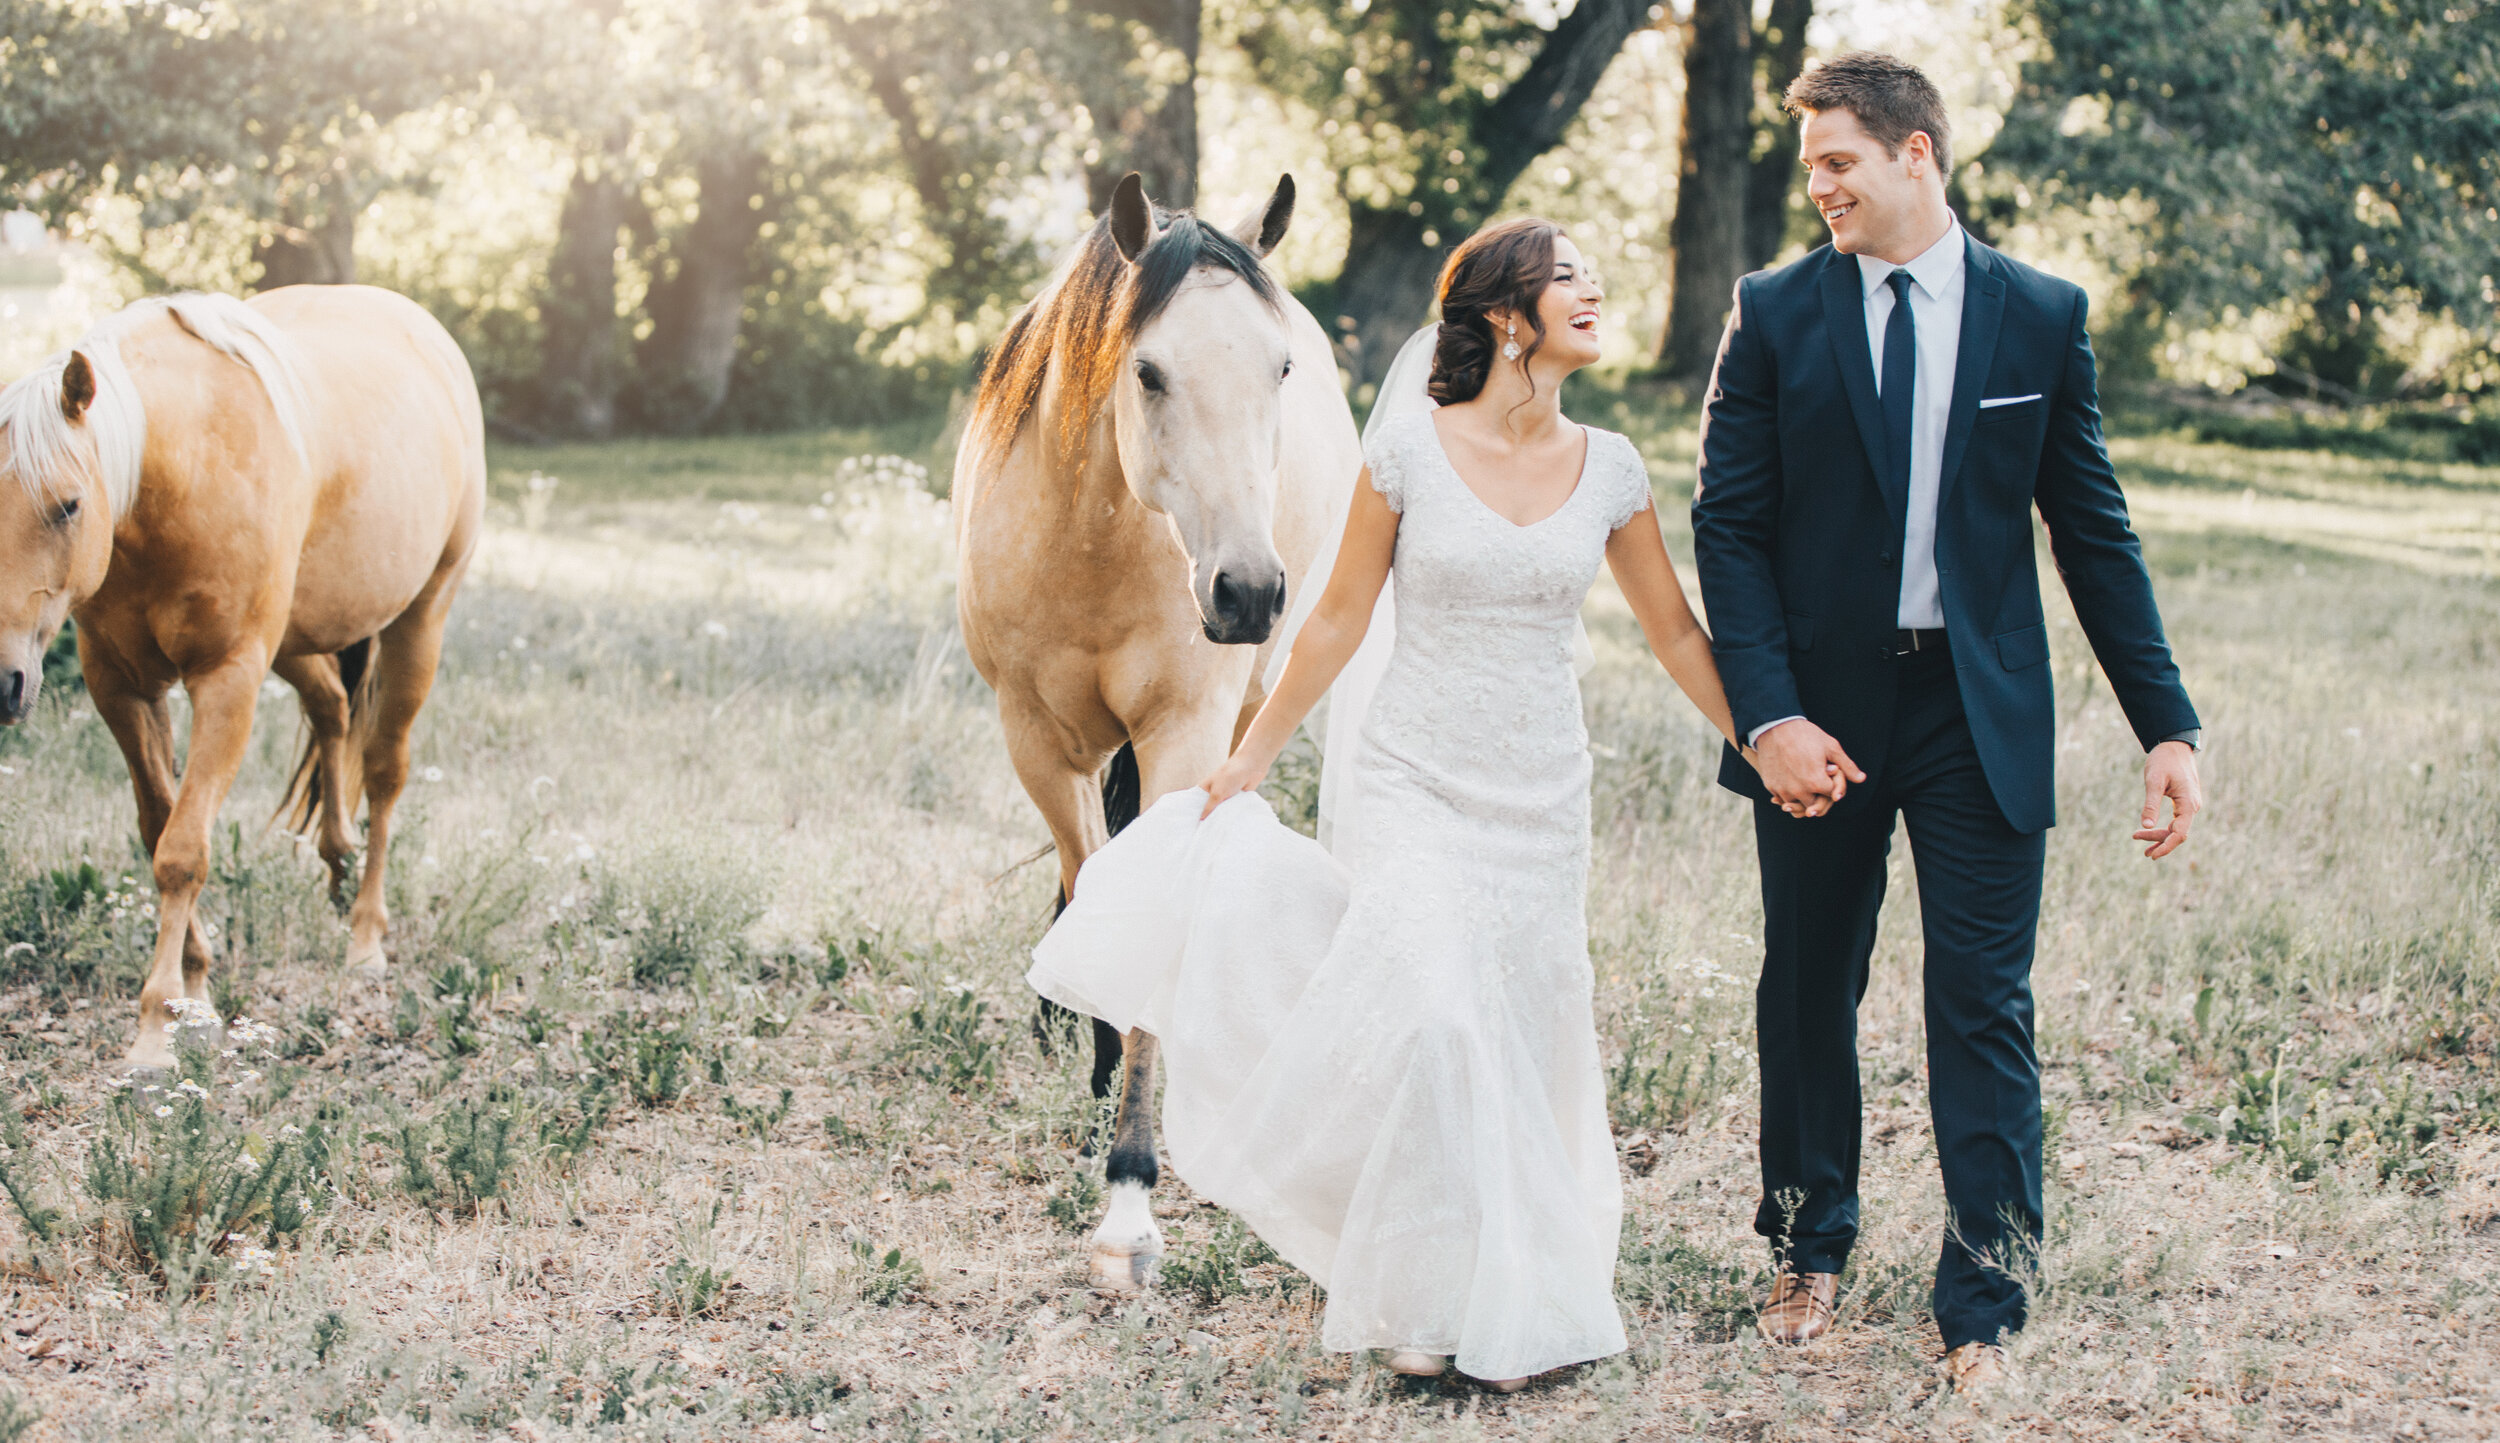
Real Weddings
-
![Outdoor wedding venue with white chairs, floral arrangements, columns, and a view of a pond with trees in the background.]()
Preferred Vendors
-
![A white octagonal ceramic plate holds three gold wax sticks and two gold wax seals with floral designs. A wooden-handled wax seal stamp is placed nearby, and white roses are visible in the background.]()
Wedding Invitation Tutorials
-
![Woman in white wedding dress sitting on a stool holding a bouquet of colorful flowers against a plain background.]()
Styled Weddings
-
![Workspace with a laptop, coffee cup, notebook, and a potted plant on a speckled surface.]()
Our Wedding Planning Faves
-
![A collection of wedding invitations and announcements arranged artistically on a white textured background. The invitations feature elegant designs with floral motifs and calligraphy. Among them is a photo of a smiling couple embracing and another photo of a couple walking hand-in-hand outdoors.]()
Tips & Tricks


Recent Features
Find Wedding Invitation Inspiration Near You
-
![]()
Idaho Wedding Invitations
INSPIRATION & INFO
Inspiration and expert guidance for Idaho weddings — from mountain venues to large faith-centered celebrations. -
![]()
Utah Wedding Invitations
INSPIRATION & INFO
Modern, timeless invitation styles designed for Utah’s most beautiful weddings. -
![]()
Texas Wedding Invitations
INSPIRATION & INFO
Invitation inspiration tailored for Texas weddings, whether you’re planning a grand ballroom or a Hill Country celebration. -
![]()
Arizona Wedding Invitations
INSPIRATION & INFO
Wedding invitations designed for Arizona weddings — modern, elegant, and desert-inspired. -
![]()
LDS Wedding Invitations
INSPIRATION & INFO
Invitations created specifically for LDS brides navigating temple wording and large guest counts.


Journal


Tips for Snowy Engagement Photos: Rock your photos!
Stressing about your upcoming winter engagement photo? We have a few tips that will help you prepare.
Find your perfect vendors


